AMS reader relies on MQTT to deliver data to Home Assistant. You need to either activate the Home Assistant internal MQTT broker or use a separate broker like Mosquitto. If you don’t already have an MQTT broker connected to your Home Assistant installation, refer to the Home Assistant documentation for more information. Do some testing to verify that it works before proceeding.
Note: As Home Assistant is continuously developed, some screenshots here may look slightly different. These are taken from HA version 2026.8.1.
¶ Activate MQTT on Home Assistant
If the MQTT Add-on is not activated on your Home Assistant installation, follow this guide: https://www.home-assistant.io/integrations/mqtt
¶ Configuring Home Assistant
It is recommended that you create a user in Home Assistant that you use for logging into its MQTT broker:
- Go to Settings > People
- Click Users on the top line
- Click the Add user button (bottom right)
- Populate the form:
- Display name: Only used inside HA, use for instance MQTT user
- Username: Use for instance ha_mqtt
- Password: Enter something you'll remember - and note it down.
- Select if this user can only log on from your local network (most users will activate this)
- Ensure that Administrator is deactivated - Click Create
¶ Configuring your AMS reader
- Navigate to the configuration page on the AMS reader and locate the MQTT configuration tile.
- Enter the connection information for your MQTT broker: The Username/Password for the user you just created in HA.
- Set a Client ID that is unique among all the devices connected to your MQTT broker. Note: Client ID can NOT be empty.
- Then, select “Home Assistant” from the “Payload” dropdown and enter a publish topic where the data should be published. This can NOT be “homeassistant”, but should be something else.
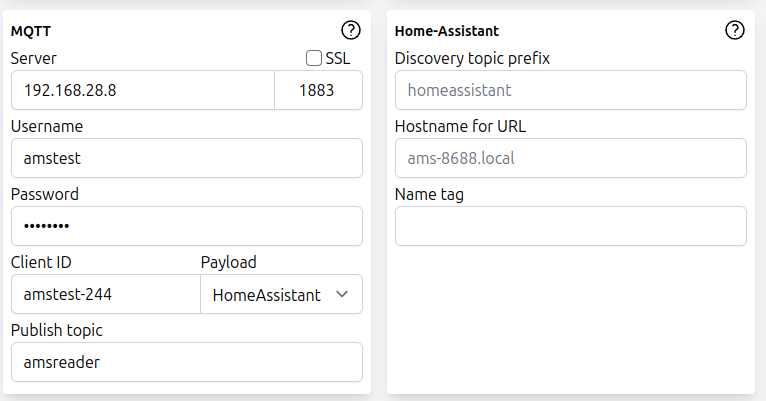
Upon selecting “Home Assistant” as the payload, another tile with advanced configuration options will appear. Normally, no changes are needed for these fields. However, if you know what you’re doing, you can modify them.
- Discovery topic prefix: Use this if your Home Assistant listens to a different topic for discovery and status.
- Hostname for URL: Use this if you want a different hostname to reach this AMS reader.
NOTE: Do not use any special signs or characters in the hostname, only letters or numbers! - Name tag: Use this if you want to add a name tag to all the sensor names. This is useful if you have multiple AMS readers connected to the same Home Assistant.
After saving the changes (blue button in bottom right corner), the MQTT indicator in the header of the AMS reader GUI should turn green.
¶ Finding your device in Home Assistant
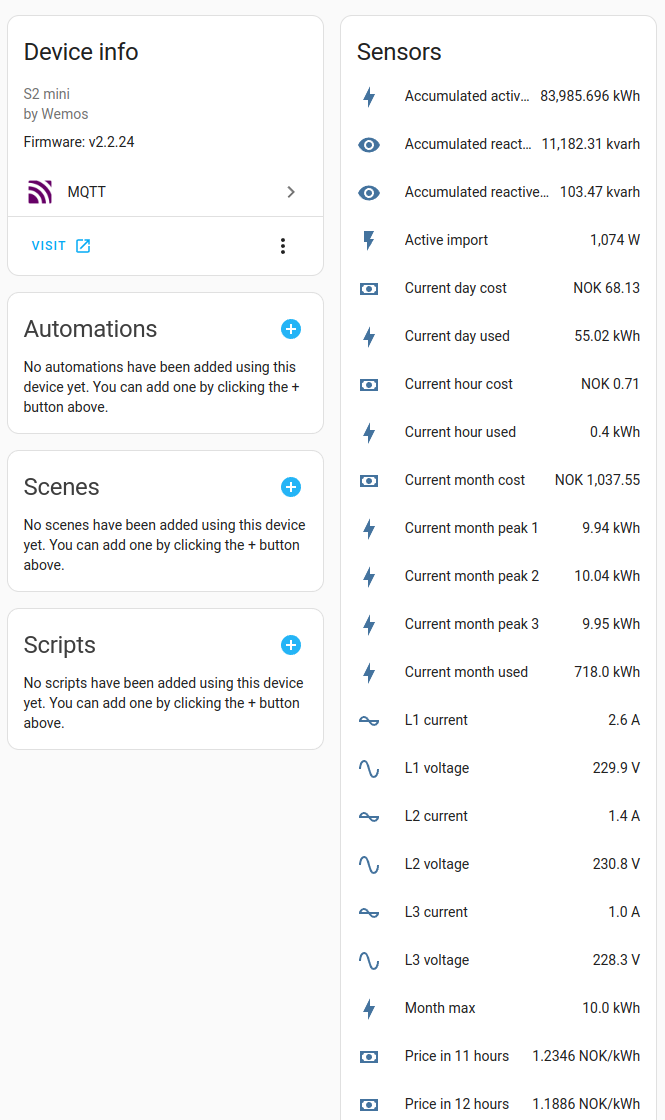
After successfully configuring your AMS reader, the device should now be available in Home Assistant under "Devices":

The available sensors will be added as they are discovered by your AMS reader. In some cases, it could take an hour or two before all sensors are available in Home Assistant.
If the sensors do not show up as indicated below after a few minutes: Reboot the device (Reset button on the unit, or the button at the bottom of the Config-screen).
¶ Configuring the Energy Dashboard in Home Assistant
Once all your sensors have been discovered, you can configure your grid connection in your Energy Dashboard in Home Assistant.
Open Energy in the left-hand menu, then click the pencil icon in the upper right corner to open the energy configuration. Under Grid connections, click Add grid connection — or, if an entry already exists, click the pencil icon on that row to edit it.
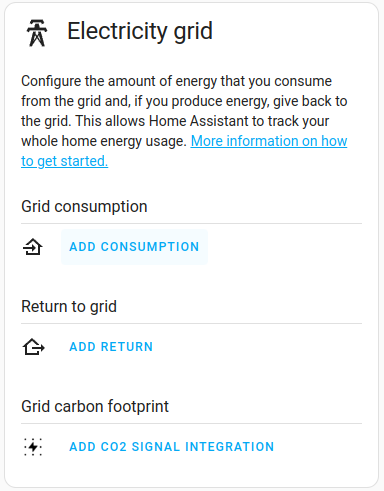
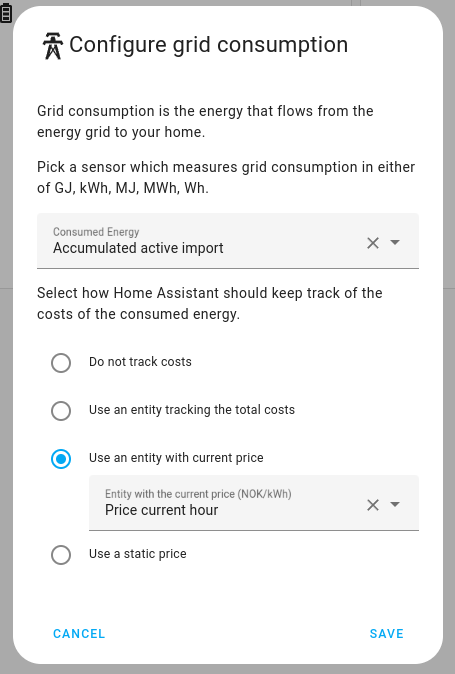
Select Accumulated active import as the "Energy imported from grid" sensor. Then select "Use an entity with current price" and choose Current import price. Finally, under Type of power measurement, select Standard and choose Active import as the power sensor — this enables real-time monitoring of power flow, in addition to the hourly energy totals.
Notes:
- Home Assistant prefixes sensor names with the device name, so these will normally appear in the dropdown as AMS reader Accumulated active import and AMS reader Current import price. If you have configured a Name tag, it appears in both the device name and the sensor names, so the entries in the dropdown will look different from the names shown here.
- Current import price only appears once the reader has retrieved price data, and Accumulated active import only after the meter has reported its cumulative counter. On some meters this can take up to an hour. If either sensor is missing from the dropdown, wait and reload the page.
- On device firmware older than v2.5.0, the price sensor is named Price current hour (but users are strongly encouraged to upgrade!)
¶ If you also export energy to the grid
If you have solar panels or another source that feeds power back to the grid, your meter reports export as well. In the same dialog:
- Select Accumulated active export as the "Energy exported to grid" sensor, then configure compensation tracking using Current export price.
- Under Type of power measurement, select Two sensors instead of Standard, and choose Active import as "Power imported from grid" and Active export as "Power exported to grid".
In the illustration below these fields are empty, because the reader used for the screenshot is installed on a meter without export.
Notes:
- Configure export under Grid connections, not under Solar panels. The AMS reader measures energy crossing your meter, not the output of your panels. The Solar panels section is for a separate inverter integration, if you have one.
- Accumulated active export and Active export only appear in Home Assistant once the meter has reported export data. If you have just installed solar panels, or if it is dark outside, these sensors may not be available yet. Current export price is always published, but shows
unknownif your price source provides no export prices.
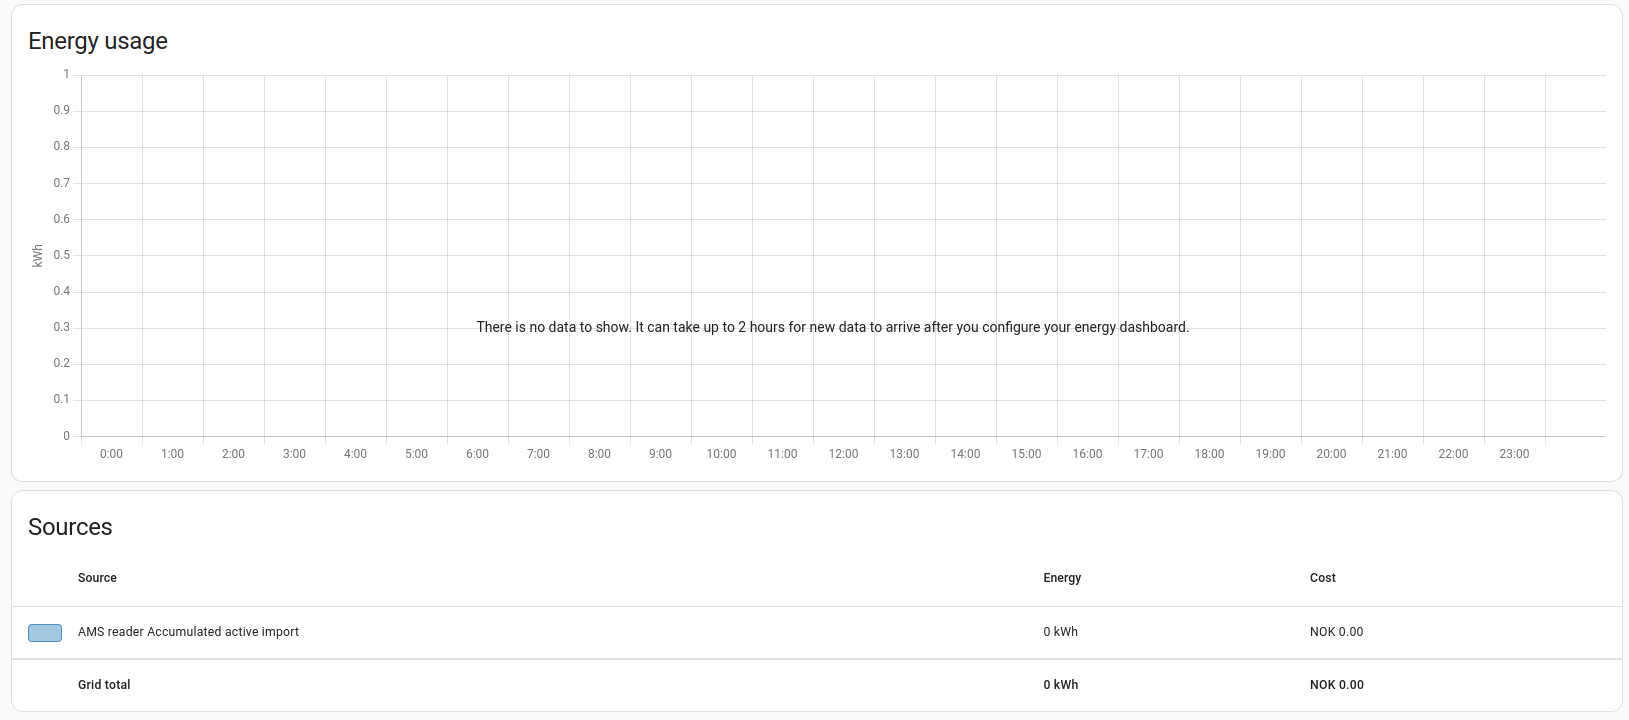
Your Home Assistant installation is now configured to track your consumption. Go to the Energy Dashboard, where you should now see a message saying “There is no data to show”. Wait for the indicated amount of time to let data populate the graph.
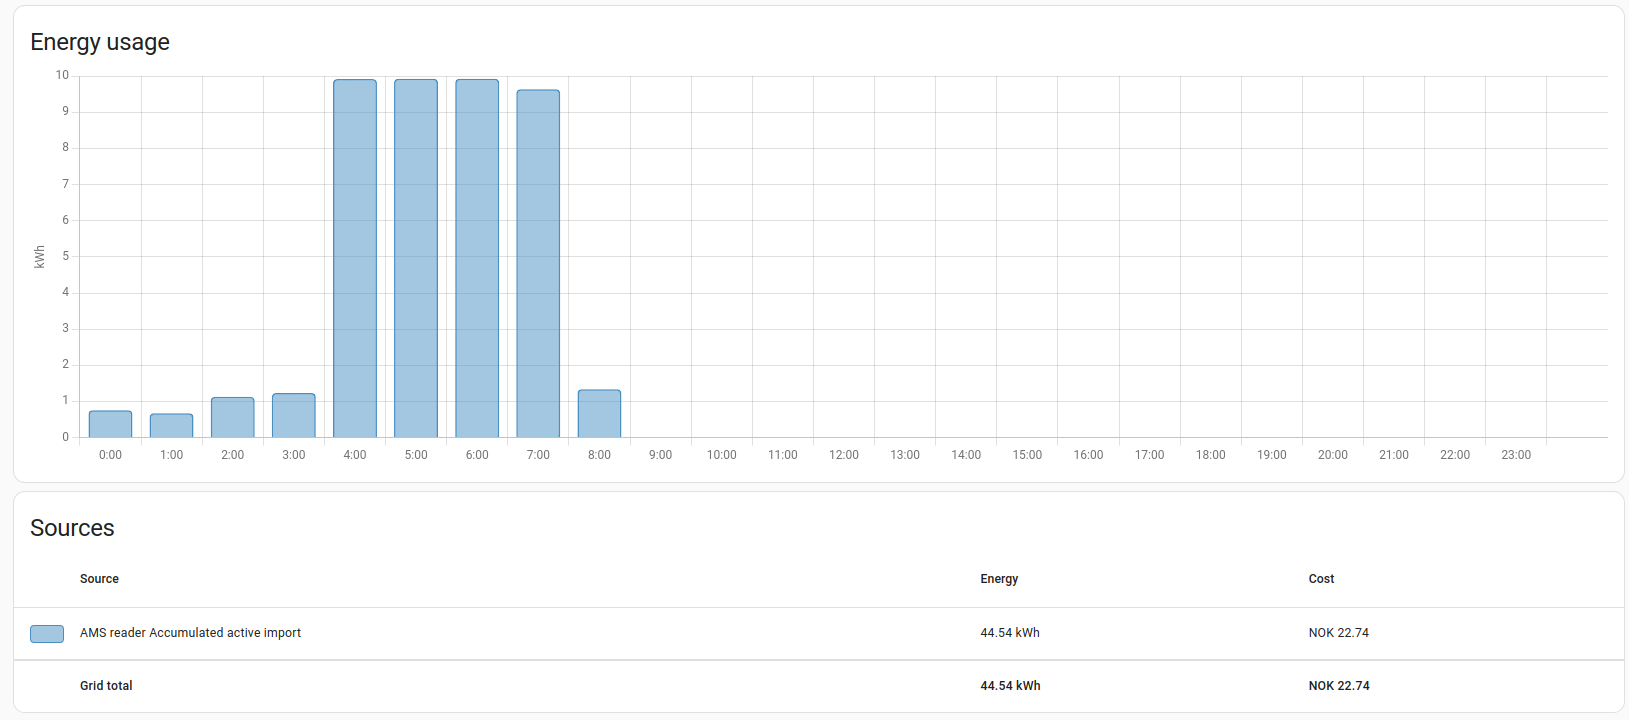
After a while, data should start populating and displaying on your graph:
¶ Notes
Please note that some meters (those delivering HAN-NVE payloads) only report accumulated counters once per hour, a few seconds after the hour has ended. This will unfortunately cause the data in the graph to be skewed by one hour.
¶ Debugging
If things do not work as expected, installing an MQTT client on your computer is a great help.
MQTT explorer is widely recognized as a great tool: https://mqtt-explorer.com/